
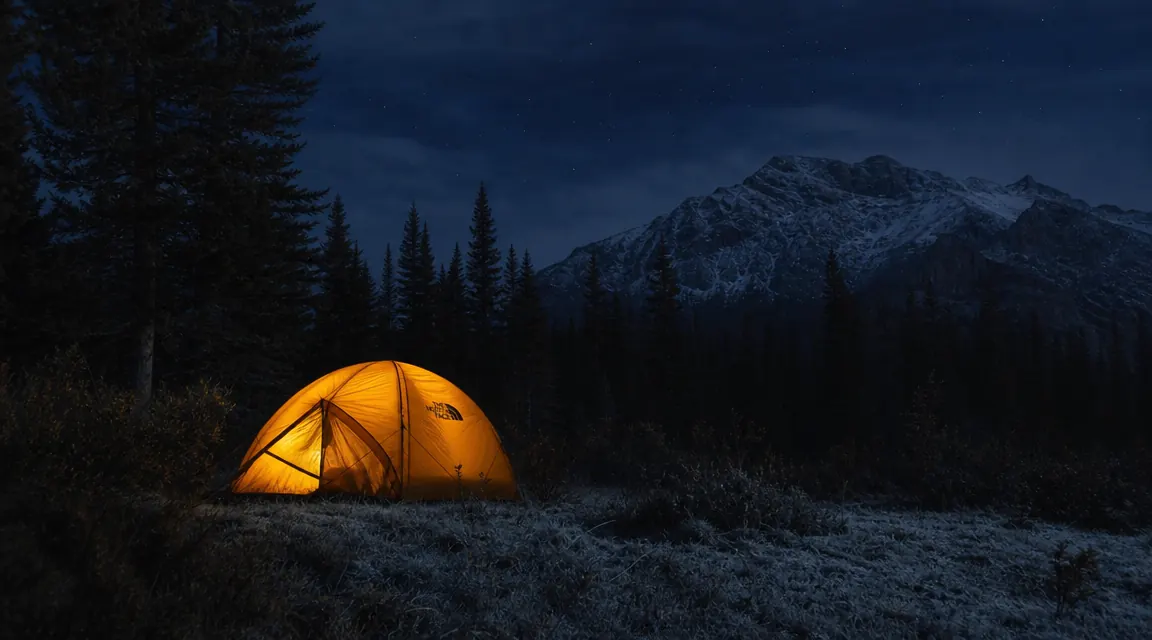
I spent 14 years as a park ranger in the Cascades, and I cannot count how many campers I talked to at the trailhead who told me they "just can't sleep warm" when they camp. They had nice sleeping bags. Sometimes expensive ones. But they were cold every single night, and they blamed the bag. In almost every case, I could ask one question and find the problem: "What are you sleeping on?" Nine times out of ten, the answer was a thin foam mat, an air mattress with zero insulation, or nothing but a ground cloth.
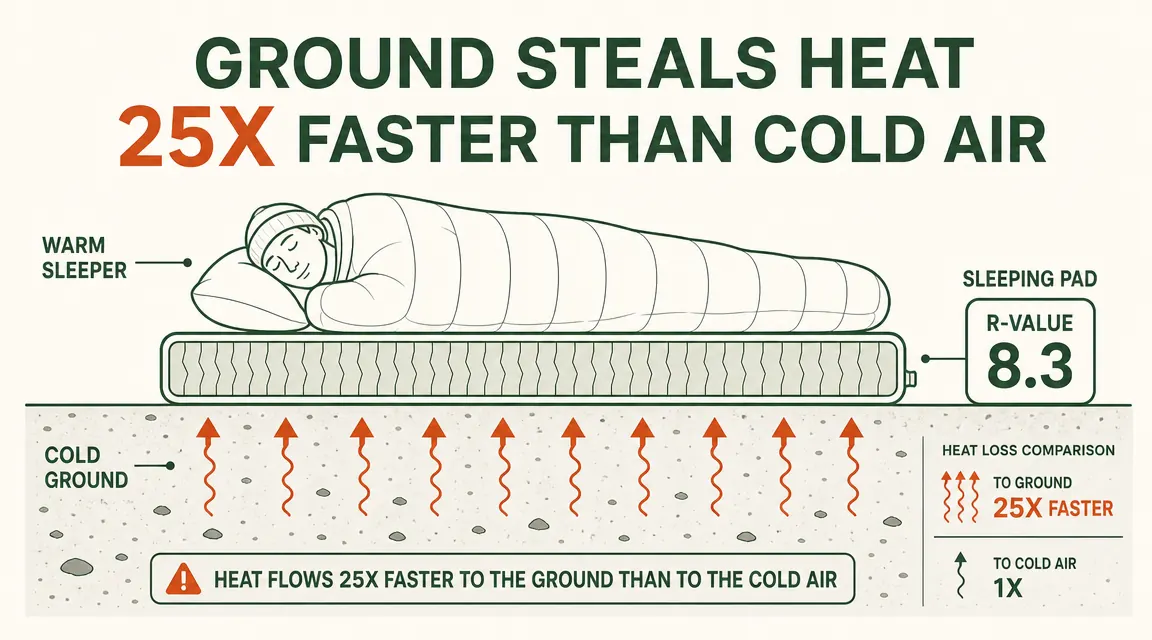
The ground steals your body heat roughly 25 times faster than cold air does. Your sleeping bag handles the air side of that equation. Nothing handles the ground side except your sleeping pad. Get that one piece of gear right, and every other step in this guide gets easier. Skip it, and no amount of layering will fully make up for what the earth is pulling out from under you.
If the ground is killing your sleep, this pad's 8.3 R-value is the fix most campers are missing
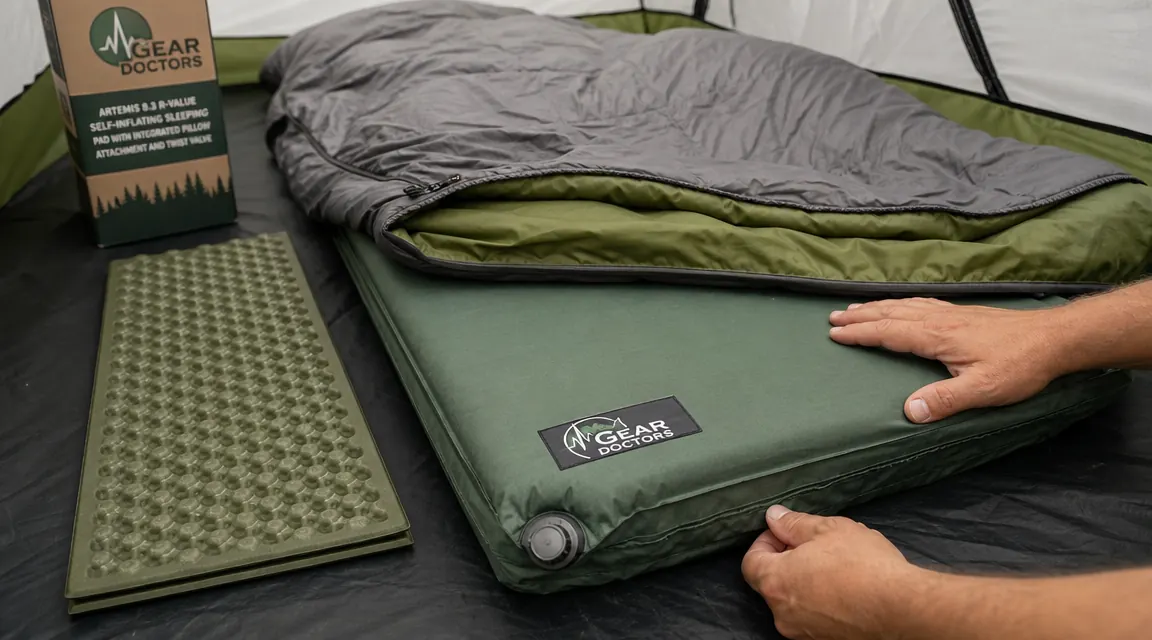
The Gear Doctors Artemis self-inflating sleeping pad has an R-value of 8.3, which is enough insulation for three-season camping and even shoulder-season cold snaps. It comes with a built-in pillow and a repair kit, and it self-inflates in about 4 minutes.
Amazon Check Today's Price on Amazon →Step 1: Understand R-Value Before You Buy Anything Else
R-value is a measure of thermal resistance. The higher the number, the harder it is for heat to pass through the material. For sleeping pads, ASTM F3340 is the standardized test now used by most reputable manufacturers, which means you can compare R-values across brands and trust the numbers are roughly apples to apples.
Here is the rough guide I give to campers: R-value 1-2 is for warm summer camping only, think July nights in the desert Southwest. R-value 2-4 covers most three-season camping in mild conditions. R-value 4-6 handles cold nights reliably, shoulder seasons, higher elevations. R-value 6 and above is where you want to be for late fall, early spring, snow camping, or if you run cold at night. The Gear Doctors Artemis comes in at 8.3, which is genuinely exceptional for a self-inflating pad in this price bracket. For comparison, the Klymit Insulated Static V checks in at R-value 4.4, and most basic foam mats are R-value 1 to 2.
One thing people miss: R-values are additive. If you are car camping and you layer a thin closed-cell foam mat (R-1.5) under a self-inflating pad (R-8.3), you effectively get R-9.8. That matters on shoulder-season trips where ground temperature can drop significantly overnight even when the daytime air feels warm.
Step 2: Match Your Sleeping Bag Rating to the Actual Low Temperature
EN 13537 and ISO 23537 are the standardized temperature rating systems for sleeping bags. The number on the tag is the "comfort" rating for an average adult woman or the "lower limit" for an average adult man. Neither of those is "the temperature at which you will feel warm" without qualification. If the bag says 20F, a cold sleeper will feel cold at 30F in that bag, and a warm sleeper might be fine at 15F.
My rule: buy a bag rated 10 to 15 degrees colder than the coldest night you expect. If overnight lows at your destination are 40F, buy a 25F or 30F bag. The extra insulation costs little in weight for car camping and gives you real margin when the weather moves on you.
Also consider shape. Mummy bags are significantly warmer than rectangular bags at the same temperature rating because they eliminate dead air space around your legs and feet. If you are car camping and comfort is priority, a semi-rectangular bag is fine for spring and summer. For any night below 40F, the mummy shape wins on warmth-to-weight ratio.
The sleeping bag handles the air around you. The sleeping pad handles the ground under you. Most campers only fix one of those. You need both working.
Step 3: Layer Your Sleep System Like You Layer Your Clothing
A sleep system is not just pad and bag. Think of it as three layers: insulation underneath (your pad), insulation around you (your bag), and insulation on your body inside the bag. Each layer compounds the others.
Inside the bag, wear a moisture-wicking base layer, a midlayer fleece or wool, and wool socks. Avoid cotton entirely. Cotton holds moisture from sweat and drops your perceived warmth significantly by midnight. A dry merino wool long-sleeve top and merino bottoms are worth the investment for anyone camping below 50F at night. Add a wool beanie. You lose a meaningful amount of heat through your head even inside a mummy hood.
One trick I used on ranger patrols: put a 1-liter Nalgene filled with hot water into the foot of your sleeping bag before you climb in. It pre-warms the dead air space and your feet stay comfortable through the night. By morning the water is still warm enough to rinse your face. Not a substitute for the right pad and bag, but a useful addition when temperatures drop unexpectedly.
Step 4: Position Your Campsite and Tent for Warmth
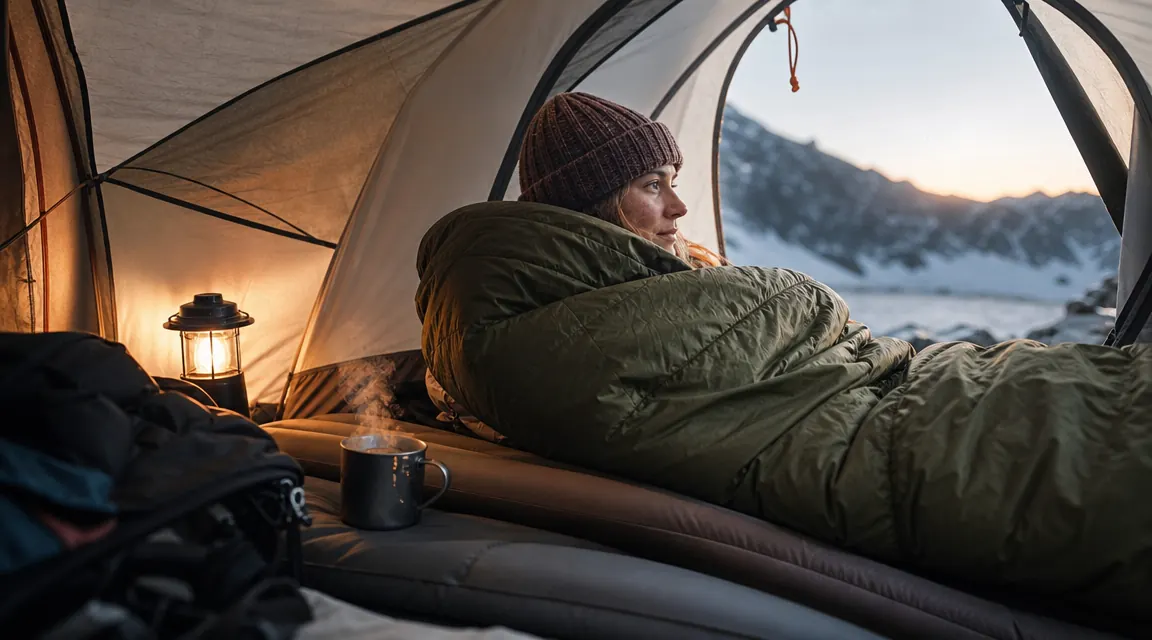
Cold air is denser than warm air, which means it flows downhill and pools in low-lying areas like valley floors, creek drainages, and open meadows. This is called cold-air drainage, and it can make a low meadow campsite 10 to 15 degrees colder than a site on a gentle slope just 50 feet higher. When I was patrolling, I regularly saw campers in meadow sites shivering while the folks on the hillside edge were sleeping fine.
Look for a site on a gentle slope or slightly elevated ground, sheltered from prevailing wind by a tree line or rock formation. Avoid creek bottoms and wide open exposed meadows if warmth is your priority. A north-facing site in a canyon will hold cold longer in the morning, while a south-facing or east-facing slope gets early sun and warms up faster.
Inside the tent, position yourself so your head is uphill. It feels counterintuitive, but sleeping with your head at the higher end of a slight slope keeps blood from pooling to your head and actually helps many people sleep warmer. Seam-seal your tent before the trip if you have not done it recently. A leaking tent floor lets in moisture, and moisture is the enemy of every insulation system you own.
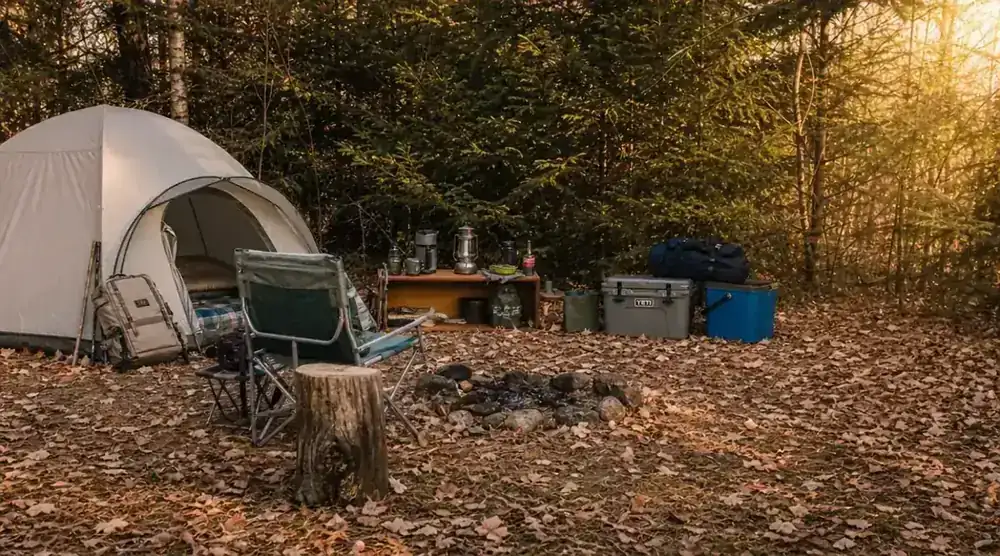
Step 5: Manage Moisture Inside Your Tent
Moisture is what kills warmth. You exhale roughly a liter of water vapor every night. Your body releases additional moisture through perspiration. In a sealed tent, that moisture has to go somewhere, and it goes into your sleeping bag, your pad, and the tent walls. A damp sleeping bag can lose 50 to 70 percent of its insulating value. A damp synthetic bag recovers faster than a damp down bag, but neither one performs well wet.
Leave a small vent open on the downwind side of your tent even on cold nights. It seems wrong to let cold air in, but ventilation keeps condensation from building up inside. The tent body stays drier, your bag stays drier, and you sleep warmer. Close the vent if wind or rain picks up.
Do not eat inside your tent to manage odors, but do eat a substantial dinner and a snack before sleeping. Your body generates heat by metabolizing food. Going to bed hungry means your body has less fuel for its internal furnace overnight. A small handful of nuts or a couple of squares of dark chocolate before you zip up makes a real difference for cold sleepers.
What Else Helps
A few additional items that compound your sleep warmth without adding much weight or bulk. A tent footprint or groundsheet under your tent adds a small amount of insulation from the ground and, more importantly, keeps moisture from wicking up through the tent floor. A lightweight sleeping bag liner, either fleece or silk, can add 5 to 15 degrees of effective warmth to your existing bag. A vapor barrier liner is an extreme option used by mountaineers but it is worth knowing about for serious cold.
For car camping, an electric blanket or heated sleeping pad exists and works well if you have shore power at your site. Most established campgrounds with RV hookups have sites with a 30-amp outlet nearby. For any kind of dispersed or backcountry camping, you are relying entirely on your non-powered sleep system, which is why getting the pad and bag right first is non-negotiable.
The Gear Doctors Artemis is worth a specific mention here because it solves both the R-value problem and the inflation problem at once. Self-inflating pads use open-cell foam that expands and draws in air when you open the valve. You give it 3 to 4 minutes to expand most of the way, then top it off with 2 to 3 breaths. The result is a pad that is thicker and more comfortable than a foam mat and warmer than most inflatable pads at the same price point. The included repair kit is a practical touch: valve failure and small punctures are the two most common failure modes for inflatable and self-inflating pads, and having the patch kit in the bag means you can fix a leak at camp instead of sleeping on the ground.
At 4783 reviews and a 4.5-star average, the Artemis has been tested by a lot of campers across a lot of conditions. The most common complaint in the reviews is that it is heavier than an ultralight inflatable. That is accurate. It is not a backpacking pad by weight. For car camping and base camping, the comfort and R-value more than justify the tradeoff. If you are counting ounces for a multi-day backpacking trip, look at the Klymit Insulated Static V instead, though you will give up R-value in the deal.
The Artemis handles the hardest part of sleeping warm: stopping ground-cold before it reaches you
The Gear Doctors Artemis 8.3 R-Value Self-Inflating Sleeping Pad is the easiest upgrade most cold-sleeping campers can make. It ships with a pillow attachment and a patch kit, and the self-inflating valve means setup takes under five minutes.
Amazon Check Today's Price on Amazon →