
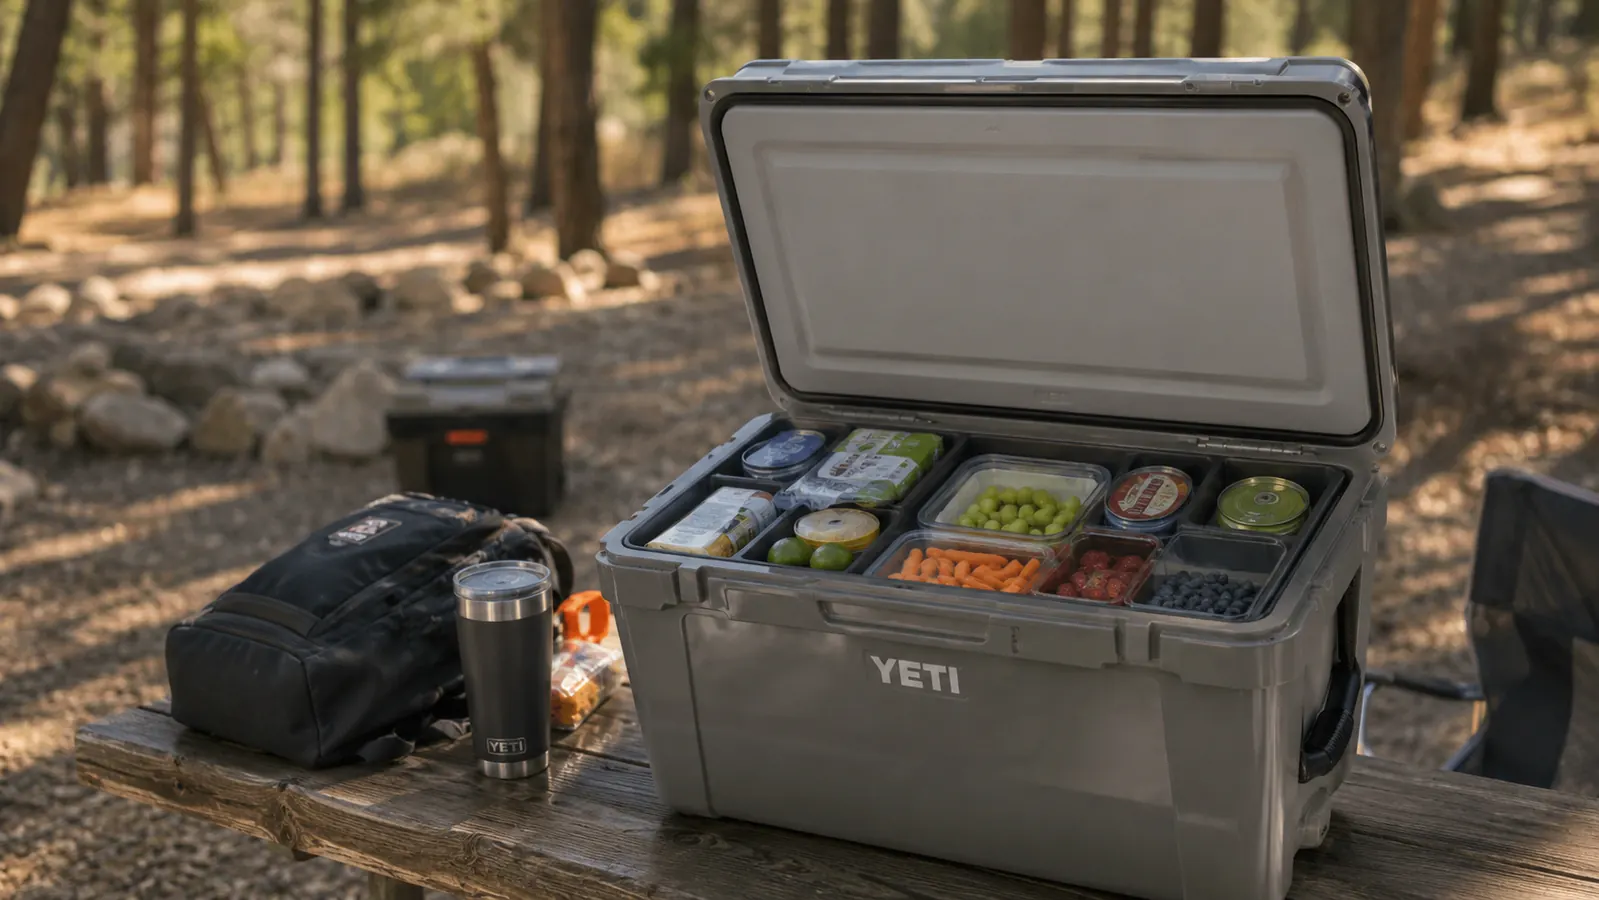
I spent 14 seasons as a park ranger at a backcountry campground in central Oregon, and I watched the same scene play out every long weekend: a family rolls in on Friday evening, proudly unpacks a cooler loaded with steaks and fresh produce, and by Sunday morning the whole thing is a lukewarm soup of ice water and regret. The food is not spoiled yet, but it is getting there. The trip turns into a race to the nearest gas station for more ice.
The cooler itself is usually fine. The problem is almost always how it was packed, where it was placed, and what kind of ice went in first. Get those three things right and a quality 62-quart cooler like the Coleman Classic Series rolling cooler will hold safe temperatures for four or five full days on a single pack of ice, even in mid-July heat. Get them wrong and even a premium cooler becomes an expensive bucket.
Before you pack a single piece of food, make sure you have the right cooler for the job.
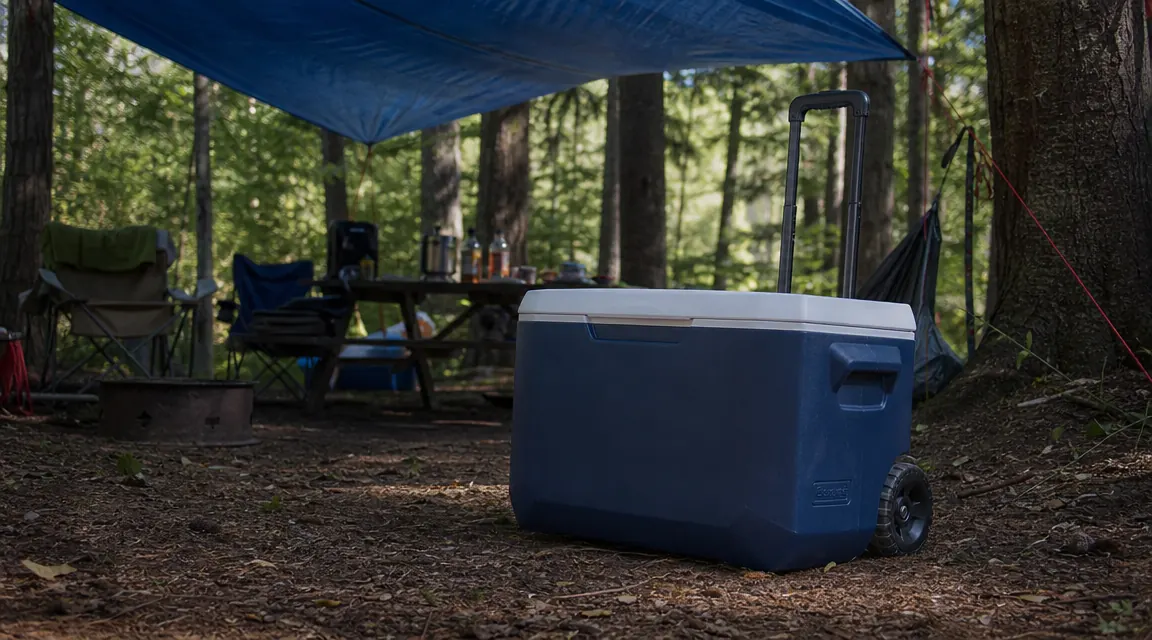
The Coleman Classic Series 62-Qt Rolling Cooler is rated to hold ice up to 5 days, has a leak-resistant drain, and rolls on wheels that handle gravel and grass. It is the cooler I recommend to anyone heading out for more than two nights.
Amazon Check Today's Price on Amazon →Step 1: Choose a Cooler Sized for Your Trip Length, Not Just Your Group
The most common mistake I see is under-sizing the cooler. People think about food volume, then forget that ice needs to occupy at least one-third of the interior to do its job. For a three-person, four-night car camping trip, that means you need more capacity than you think. A 62-quart cooler sits right in the sweet spot: enough room for a weekend's worth of food for four adults plus enough ice to actually keep it cold.
The Coleman Classic 62-Qt is built with five-day ice retention in mind. The insulated lid and body walls keep ambient heat out, and the roto-molded channel drain means you can drain meltwater without losing all your cold air at once. The telescoping handle and two rear wheels matter more than people expect once the cooler is full and weighs 60-plus pounds. If you are camping at a spot more than 50 feet from your car, a cooler without wheels becomes a two-person carry job.
If your trip is two nights or fewer and your group is two people, a 48-quart non-wheeled cooler is probably enough. But for anything three nights or longer with three or more people, size up. You will use the extra room for more ice, which is exactly what you want.
Step 2: Pre-Chill the Cooler the Night Before You Leave
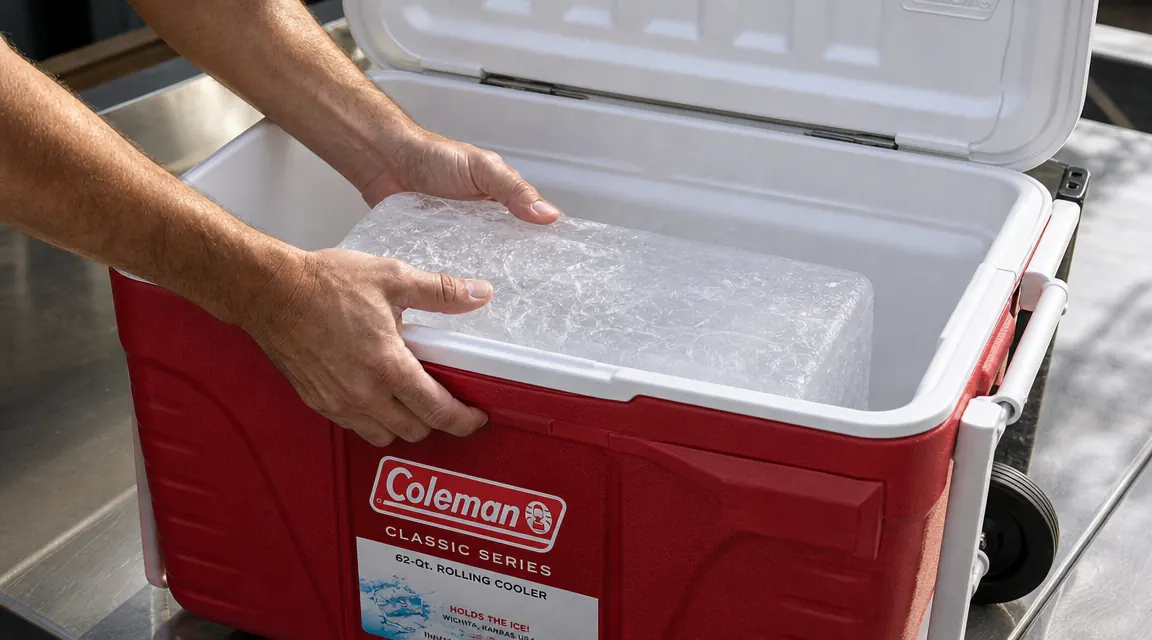
A warm cooler burns through ice at nearly double the rate of a pre-chilled one. The foam insulation needs time to cool down to near-refrigerator temperature before it can start doing its job. The night before your trip, fill the cooler with a bag of cheap ice from the gas station and close the lid. Let it sit overnight in a cool garage or shaded spot. Dump that sacrificial ice in the morning right before you start loading your real food.
This one step alone can add 18 to 24 hours to your effective ice-hold time. I started recommending this to every camper who asked me why their cooler was not performing, and the feedback was almost universally that their next trip went dramatically better.
Step 3: Pack with Block Ice on the Bottom, Cubed Ice on Top
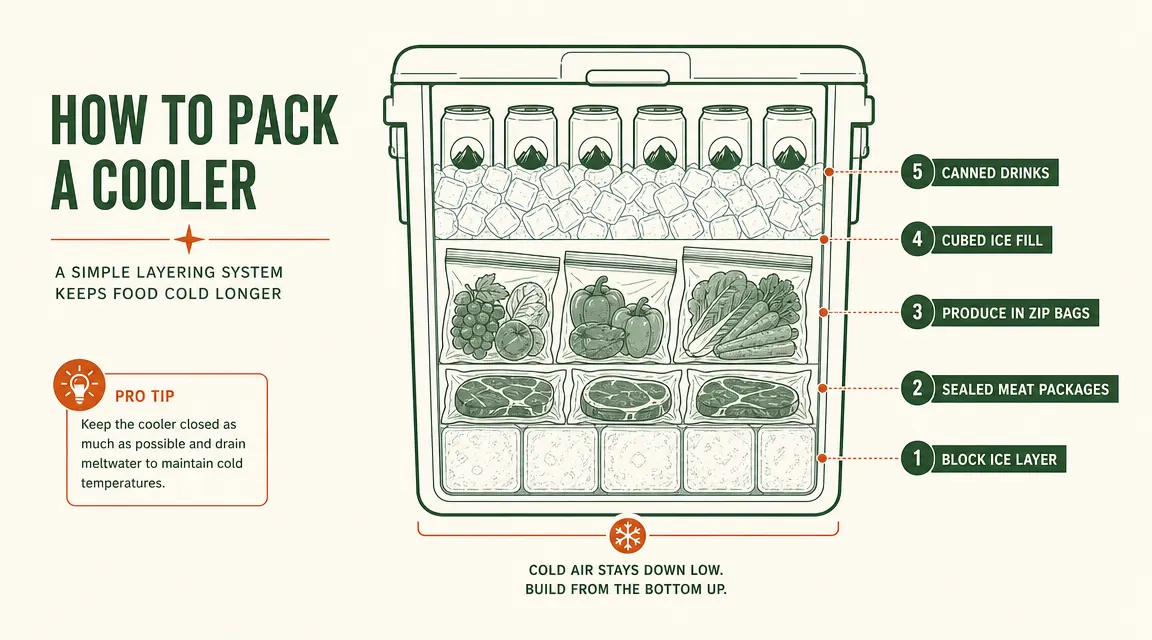
Block ice melts significantly slower than cubed ice. A 10-pound block will outlast a 10-pound bag of cubes by two full days in similar conditions. The strategy is to use block ice as your foundation layer and cubed or crushed ice to fill gaps around your food.
Start with one or two blocks of ice laid flat on the cooler floor. You can buy commercial block ice at most sporting goods stores or you can make your own by filling gallon zip-lock bags with water and freezing them flat two days before the trip. Gallon freezer bags work better than containers because they mold to the available space. Layer your most temperature-sensitive items directly on top of the block ice: raw meat in double-sealed bags, dairy, and anything you would lose to food safety concerns first. Then fill gaps with cubed ice. Produce, condiments, and drinks go on top.
Keep drinks in a separate cooler if you have one. Every time someone opens the cooler for a cold beer, warm air rushes in. A dedicated drink cooler that opens constantly while the food cooler stays mostly closed is one of the single biggest improvements you can make on a multi-day trip.
Step 4: Freeze Everything You Can Before It Goes In
Your cooler is not a refrigerator. Its job is to maintain cold, not to create it. Every item that goes in warm or at room temperature is actively stealing cold from your ice. The solution: prep food at home and freeze as much as possible before it goes into the cooler.
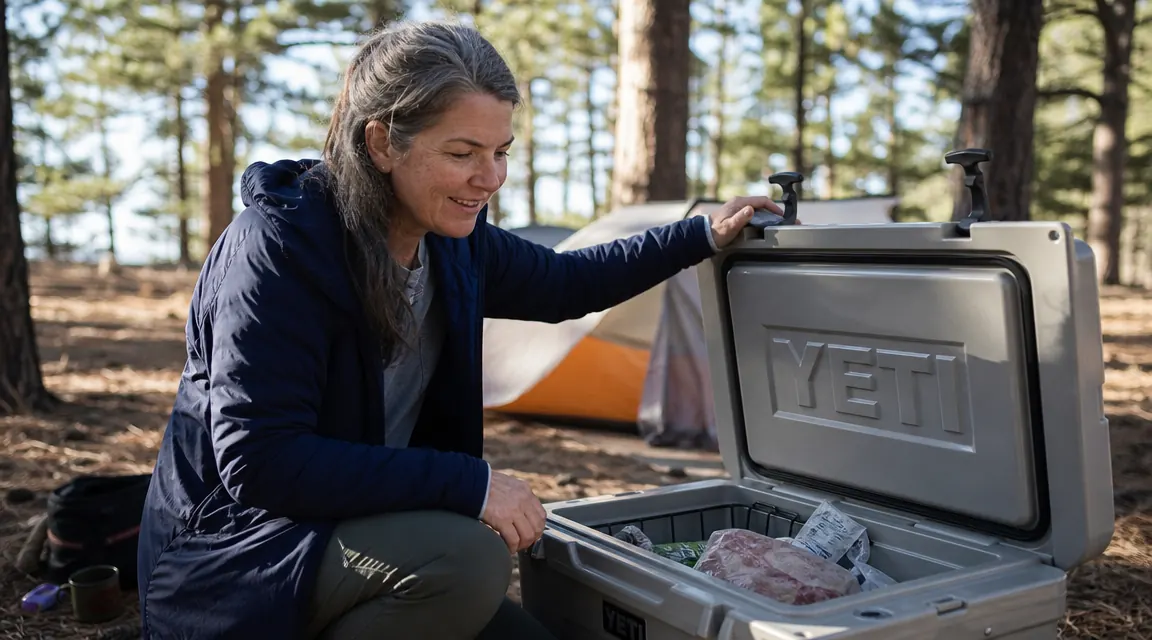
Meat should be frozen solid before the trip. It acts as additional ice while it thaws slowly over the first two days, which is exactly when you will eat it. Marinate steaks or chicken thighs in zip-lock bags, lay them flat, and freeze them two days ahead. They will be ready to cook by night two or three, and they will not have been sitting in ice water the whole time. Pre-cook items like hard-boiled eggs, grilled sausage, and soups and freeze those too. Frozen meals go in as ice-equivalent mass and convert to ready-to-reheat dinners mid-trip.
Cheese, butter, and most condiments can start refrigerator-cold rather than frozen. Just make sure nothing goes in at room temperature. I keep a simple rule: if it was not in the fridge or freezer at home the morning of the trip, it does not go in the cooler.
Your cooler is not a refrigerator. It cannot create cold. It can only hold it. Everything you put in warm is stealing from your ice budget.
Step 5: Manage Heat Exposure from the First Mile to the Last
Where your cooler lives matters as much as what is inside it. A cooler sitting in direct afternoon sun loses ice roughly three times faster than one in full shade. If you have a truck bed, cover it with a tarp during the drive. At camp, position the cooler in the deepest shade available, ideally somewhere that gets afternoon shadow from a tree or your tent.
Elevation and humidity affect this too. A campsite at 7,000 feet with cool nights will give you better ice retention than a beach campsite at sea level in 95-degree heat. Factor your destination into your ice expectations. In hot, low-elevation conditions, plan for 72 hours of reliable cold rather than five days. Buy extra ice at the nearest town on day two or three.
Keeping the cooler off the ground also helps. Direct contact with hot ground heats the bottom faster than the insulation can compensate. A folded tarp under the cooler, a picnic table surface, or even a piece of cardboard breaks that contact. It is a small thing that adds a few hours to your ice hold.
What Else Helps: Small Habits That Add Up
Do not drain meltwater until you absolutely have to. Cold water is a better insulator than air pockets, and the water in a cooler full of melted ice is still near freezing. Draining too early replaces that cold water with warm air. The Coleman Classic's drain plug makes it easy to drain on your schedule rather than constantly draining because the lid does not seal. Wait until the water rises high enough to threaten your food before you drain.
Open the cooler as few times per day as possible and close it quickly when you do. Designate one person as the cooler opener on big group trips, or at least establish a rule that you get everything you need in one trip rather than opening it repeatedly over five minutes while deciding what to eat.
Resist the urge to top off with gas-station cubed ice on day two unless you actually need it. Every time you add warm-from-the-bag cubed ice, you are introducing a heat source. If your block ice is still intact and your food is cold, leave the cooler alone. If you do need to replenish, look for a grocery store that sells block ice rather than a gas station with cubed ice.
Finally, know the food-safe temperature rule: 40 degrees Fahrenheit is your ceiling for protein, dairy, and cooked leftovers. If you do not have a cooler thermometer, buy a cheap dial model and keep it inside. It removes the guesswork entirely. A $6 thermometer has prevented more food poisoning incidents than any cooler feature I can name.
Do not drain meltwater until you have to. Cold water is still insulating your food. Air is not.
The Coleman Classic 62-Qt handles all of this well: five-day rating, leak-resistant drain, wheels for gravel terrain.
If you are planning a three-night-plus car camping trip and your current cooler is not keeping up, this is the straightforward upgrade that fixes the problem without spending three times as much on a premium roto-molded cooler. Over 8,800 campers have rated it 4.5 stars.
Amazon Check Today's Price on Amazon →Related Reading
If you want a deeper look at how the Coleman Classic holds up over multiple seasons of actual use, read the full coleman-classic-cooler-review. And if you are still deciding whether a rolling cooler is the right upgrade for your setup, the 10-reasons-rolling-cooler-worth-it-camping article walks through the practical reasons most car campers eventually make the switch.