
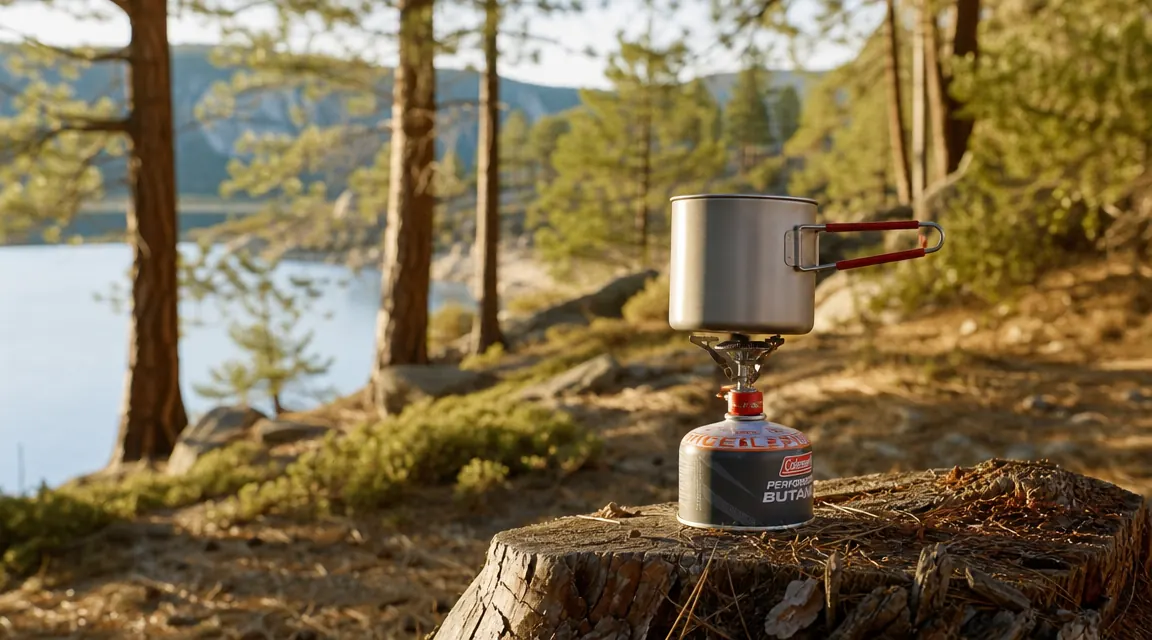
The first time I cooked a real meal at a campsite, I was 27 years old and a brand-new ranger at a park in northern New Mexico. My supervisor had given me four days in a remote patrol cabin with no resupply. I brought a single pot, a camp stove, and whatever I could stuff in a 40-liter pack. By day two I had figured out how to make a decent pasta with sun-dried tomatoes and olive oil. By day four I was making scrambled eggs with reconstituted peppers and a side of instant mashed potatoes. Nothing fancy. But I was eating real food, and that matters. The right cookware kit, like the MalloMe camp mess kit I have been using for years, makes the difference between a hot meal and a packet of crackers.
Most campers default to hot dogs, chips, and instant oatmeal not because that is all that is possible but because nobody ever showed them how to do better. The gap between camping food that feels like a punishment and camping food that actually satisfies you is smaller than you think. It is mostly a planning gap and a gear gap, and both are easy to close. This guide walks through five steps I still use today, whether I am car camping with my sister for a weekend or spending five nights in the backcountry.
If your current cookware is a single bent pot from a box store, this is the kit I recommend starting with.
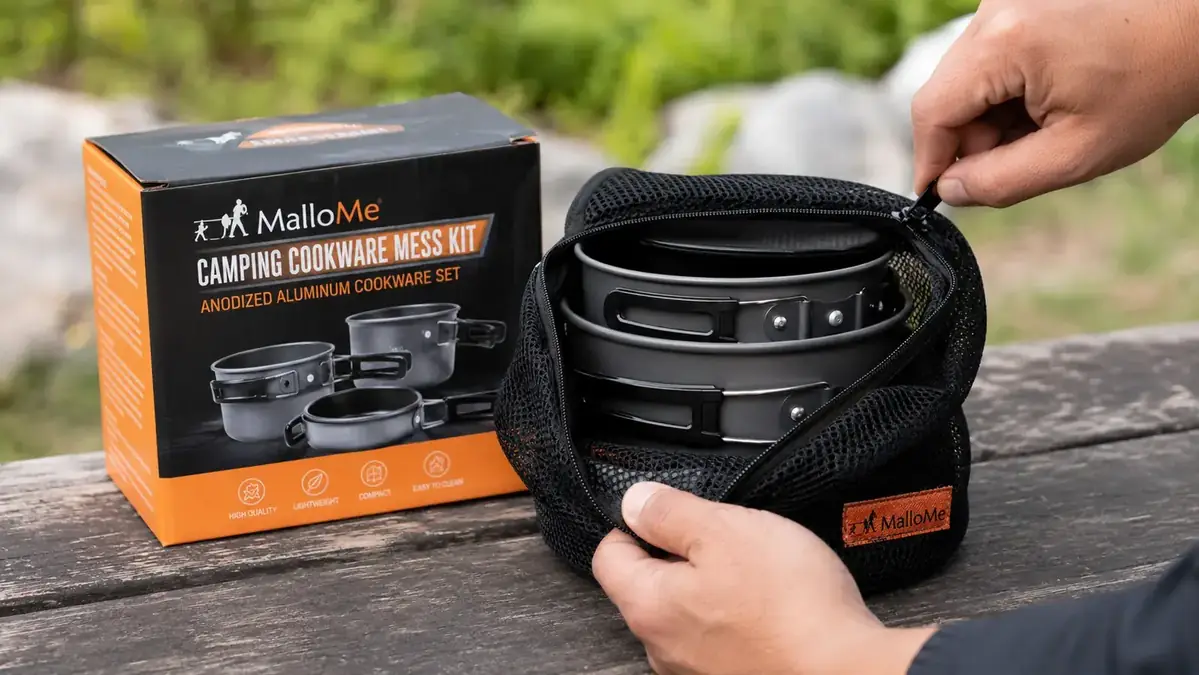
The MalloMe Camping Cookware Mess Kit packs a 1.5L pot, 1L pot, a frying pan that doubles as a lid, two plates, two cups, a folding ladle, a tongs, a cleaning sponge, and a nylon carry bag into a nested set that weighs about 1.1 lbs total. Over 9,400 buyers and a 4.5-star average. It has covered every meal in this guide.
Amazon Check Today's Price on Amazon →Step 1: Pick Your Heat Source Before You Plan a Single Meal
This is the step most people skip, and it is the one that causes the most frustration. Your heat source dictates everything else. A campfire gives you high heat and no precision control. A canister stove gives you adjustable, consistent flame but depends on a propane-isobutane fuel canister. A wood-burning twig stove is free to run but slow and smoky. A dual-fuel white gas stove is the workhorse of serious backpackers but costs more and has more to maintain.
For car camping I usually bring a single-burner canister stove and supplement with a campfire when conditions allow. For backpacking I go single-burner canister only, because fires are restricted or inadvisable in most backcountry zones I work in. The key rule is this: never plan a meal that requires two simultaneous burners unless you own two burners. I have watched people try to time pasta and sauce over a single camp stove and waste 40 minutes and most of their fuel. Cook one thing at a time or bring a two-burner car camping stove.
Before your trip, write down your heat source, note its fuel capacity, and estimate roughly how many minutes of cooking time you have per fuel canister. A 100g isobutane canister gives you about 45 to 60 minutes of boiling time in moderate conditions. Plan accordingly.
Step 2: Build a Meal Plan Around Three Variables: Water, Fuel, and Cookware Pieces
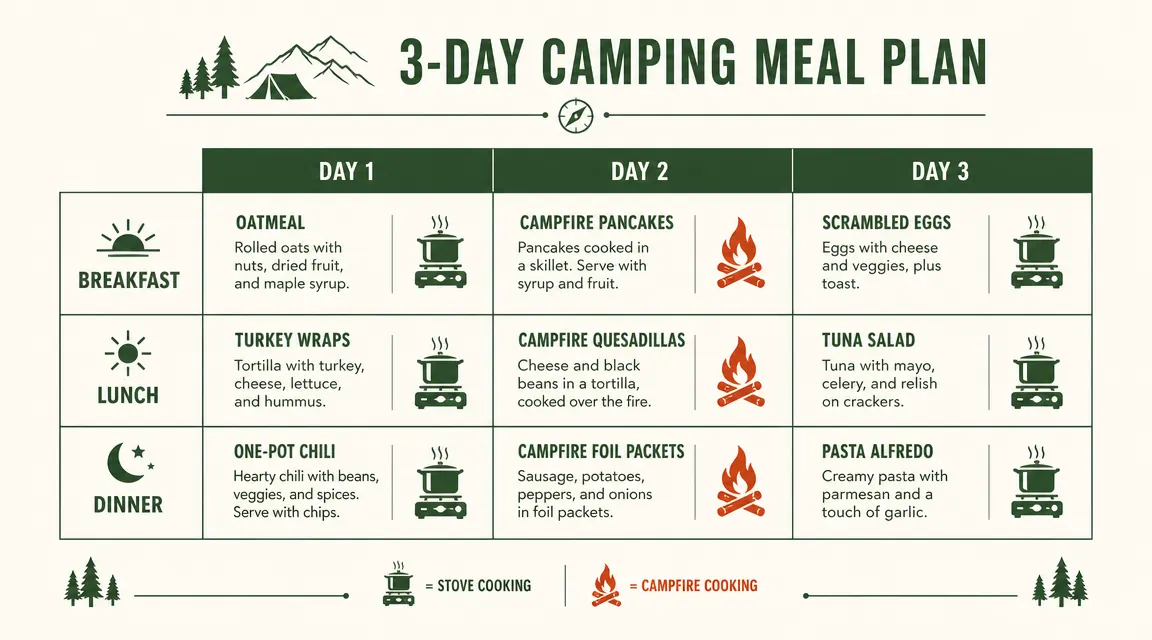
Every campsite meal uses some combination of those three inputs. Oatmeal: 1 cup water, 5 minutes of heat, 1 pot. Pasta primavera: 3 cups water, 15 minutes of heat, 1 pot and 1 pan. Breakfast burritos: 0 extra water, 8 minutes of heat, 1 pan. If you write your meals out this way before you leave home, you will instantly catch problems. You will notice that you planned six meals requiring boiling water but only brought enough fuel for four. You will notice that three of your dinners require a frying pan but you only packed a single pot.
I plan three days at a time, maximum, before restocking. For a three-day trip my typical structure is: breakfast is something fast and high-calorie (oatmeal with nuts and dried fruit, or a tortilla with peanut butter and honey), lunch is no-cook (crackers, hard salami, cheese sealed in wax, trail mix), and dinner is the one real cooked meal of the day. That structure keeps fuel use manageable and cooking effort reasonable after a long day on trail.
Write the plan down on paper or in your phone notes. Assign each meal to a specific piece of cookware. If you are using a kit like the MalloMe mess kit, note which pot handles which meal. This sounds fussy but takes five minutes and prevents the frustrating moment at 7pm where you realize you have no clean pan for dinner.
Step 3: Pre-Prep at Home to Cut Campsite Cooking Time in Half
The single biggest upgrade most campers can make has nothing to do with gear. It is what you do the night before you leave. I pre-measure spices into small zip-lock bags labeled by meal. I dice onions and peppers at home and freeze them in a single bag so they thaw slowly in the cooler and I have fresh aromatics on day one without any knife work at camp. I pre-cook rice and pasta at home, portion them into bags, and reheat at camp in about four minutes versus the 15 to 20 minutes required to cook from raw.
For proteins, I marinate chicken or steak strips the night before in a sealed bag, then freeze them. They defrost in the cooler over the first day and are ready to cook for dinner. This is not a complicated technique. It is basic meal prep applied to a different environment. The results feel dramatically better than anything you can improvise at camp with a dull knife and no cutting board.
The gap between camp food that feels like a punishment and camp food that actually satisfies is almost always a planning gap, not a gear gap. Fix your prep night and your meals get better immediately.
A few more specific pre-prep moves worth adopting: remove all commercial packaging at home and repack food into labeled bags to cut waste and bulk. Combine dry ingredients for one-pot meals (lentils, spice blend, dehydrated vegetables) into a single bag with cooking instructions written on it. Pre-shred cheese and store it flat in a small container. These steps sound small but they add up to a camp kitchen that runs clean and fast.
Step 4: Learn Four Core Techniques That Cover 90 Percent of Camp Meals
You do not need a culinary degree to cook well at a campsite. You need four techniques: boiling, sauteing, simmering, and one-pot building. That is it.
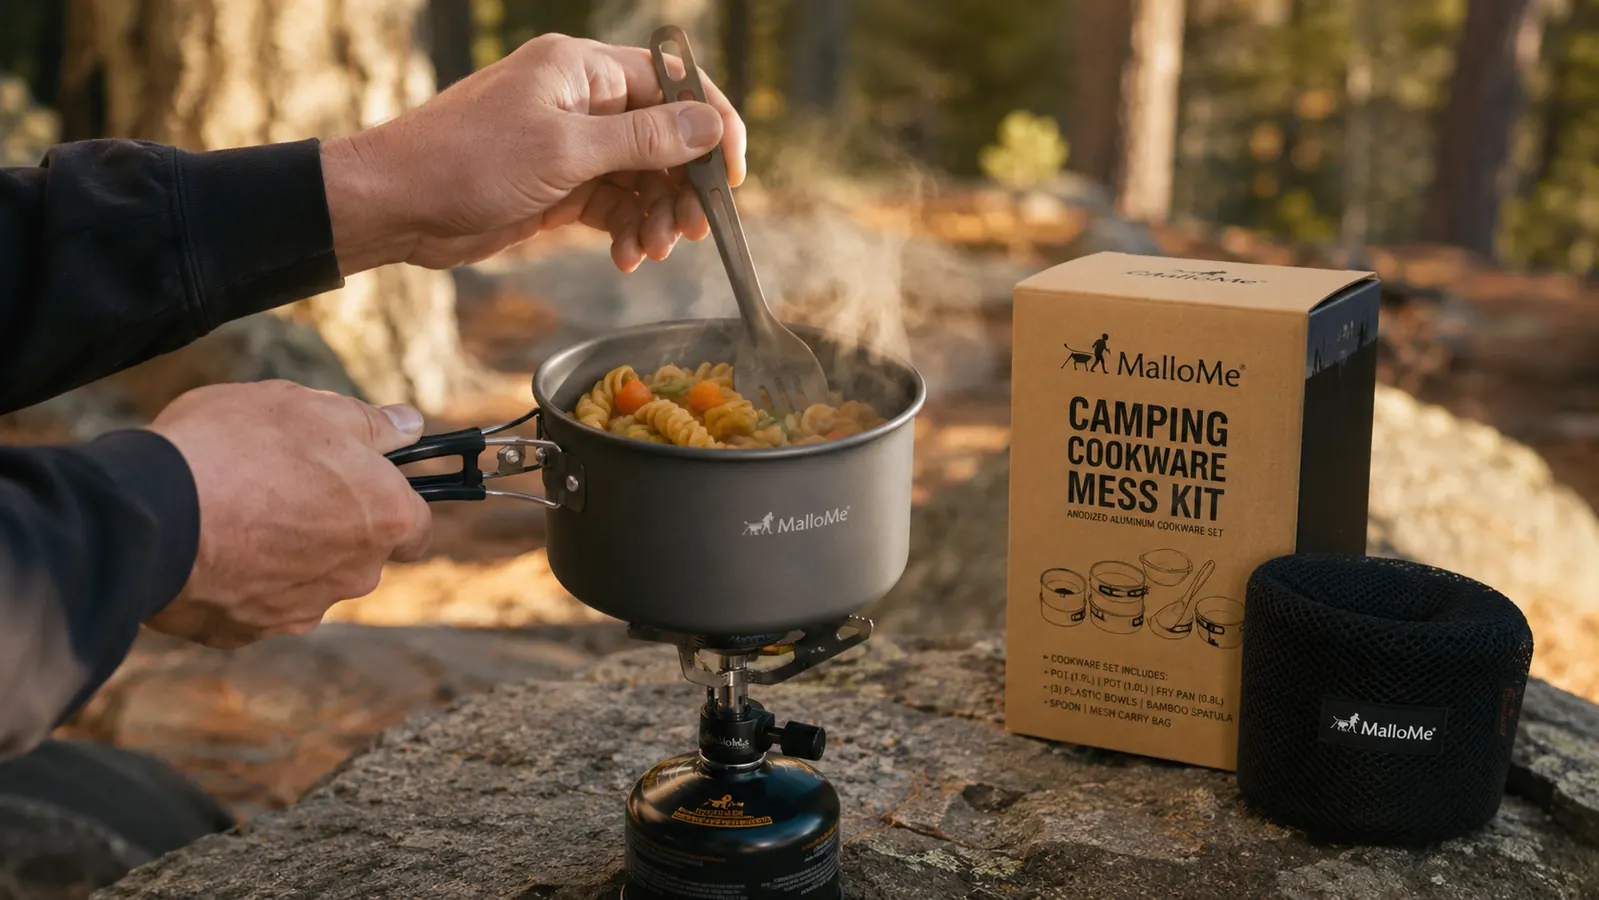
Boiling is for pasta, rice, oatmeal, and reconstituting dehydrated vegetables or freeze-dried meals. Fill your pot, bring it to a full boil, add your ingredient, stir occasionally, drain with the lid held as a strainer. The MalloMe kit lid doubles as a strainer with small holes along the rim, which I use constantly for pasta.
Sauteing at camp means adding a small amount of oil to your pan over medium-high heat and cooking proteins or vegetables until browned. The frying pan in the MalloMe kit is about 6.5 inches across, which is enough for two eggs or one serving of chicken strips. Two servings means two rounds, which is worth knowing upfront so you budget the time.
Simmering is low heat for longer. You need this for lentil soup, chili, or anything with a sauce. The trick on a canister stove is to turn the valve almost fully closed and pay attention. Camp stoves have almost no thermal mass, so they go from simmer to boil fast. Check every two minutes.
One-pot building is the technique that makes camp cooking actually enjoyable. Start with oil, saute aromatics (garlic powder, onion, dried chili flake), add your pre-cooked protein or a can of beans, add pre-cooked grains or pasta, add a splash of water or broth powder dissolved in water, season with salt and whatever spice blend you pre-packed, stir for three minutes over medium heat. You have a real dinner in one pot. Cleanup is one pot and one spoon.
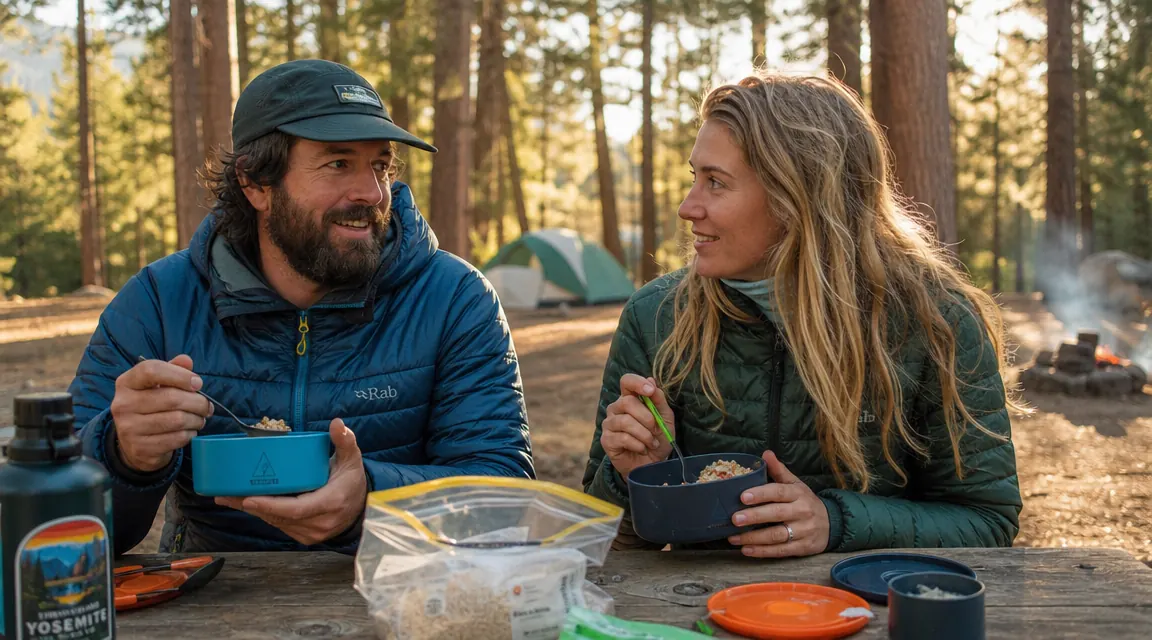
Step 5: Set Up Your Camp Kitchen to Minimize Mess and Speed Up Cleanup
A disorganized camp kitchen makes everything take twice as long and adds unnecessary risk of contamination if raw protein is involved. My setup routine takes about four minutes and it pays off for every meal of the trip.
First, designate a flat cook surface. At a site with a picnic table, that is one end of the table. On a backpacking trip, I use a small stuff sack or my pack's hip belt pad as a pseudo-countertop. Everything related to cooking stays in that zone. Second, set out your cookware in the order you will use it. If dinner is pasta with a sauteed protein, the pot goes on the left for boiling, the pan goes on the right for protein, and both lids go center. Third, fill your water source before you start cooking, not halfway through.
For cleanup: scrape every pot clean with your folding spatula or ladle before adding water. Heat a small amount of water in the pot, swirl it around, and pour it into your camp waste sump (at least 200 feet from your water source per Leave No Trace guidelines). Wipe with the included sponge. You rarely need soap for a well-seasoned anodized aluminum pot if you do this immediately after eating. The MalloMe kit includes a small cleaning sponge for exactly this purpose, which I appreciate because I have a habit of forgetting to pack one separately.
Food storage after meals matters too. In bear country, hang your food bag or use a bear canister. At a developed campground, lock food in your vehicle at night. This is not optional etiquette; it is how you prevent wildlife problems for the next camper and keep the campsite usable.
What Else Helps
A quality campfire lighter or waterproof matches is worth carrying even if you use a canister stove. Wind is the enemy of reliable ignition, and a long-neck lighter outperforms a standard lighter in gusts. A small cutting board, even a thin flexible plastic one, makes prep at camp noticeably easier. And a headlamp positioned to point at your cook area frees both hands for cooking after dark, which matters on short fall days when you get to camp at 5pm and want to eat at 6.
The other thing that helps is cooking the same meals enough times that you can do them without thinking. Pick three or four camp meals you enjoy, practice them once at home so you know the fuel requirements and timing, then bring those exact meals on every trip until they feel automatic. Variety is nice but competence is better. Burned pasta at 9pm on a cold mountain is miserable. Pasta you can cook in your sleep is one of the small joys of having a real camp kitchen routine.
If you are looking for more on what cookware to bring and how to evaluate your options, I wrote up a detailed breakdown in my MalloMe cookware kit review. And if you are not sure whether a full kit is worth it over just grabbing a single pan, the 10 reasons a cookware kit beats a single pan piece covers that comparison directly.
Ready to stop cooking from one bent pot? The MalloMe mess kit is the starting point I recommend to every first-time real-camp-cook.
At under $25, it gives you everything this guide calls for: two pots, a frying pan lid, plates, cups, utensils, and a sponge, all nested into a bag roughly the size of a water bottle. Rated 4.5 stars across 9,400+ purchases. It is not the lightest kit at this size (titanium costs 4x more), but for car camping and weekend backpacking it handles everything in this guide without complaint.
Amazon Check Today's Price on Amazon →